There are a few simple ways how to make your camera quality better. One way is to improve the lighting in the area where you take your photos. You can also try using a tripod to keep your camera still while taking the photo. Finally, you can also adjust the settings on your camera to improve the quality of your photos.
Ways To Make Your Smartphone Camera Quality Better
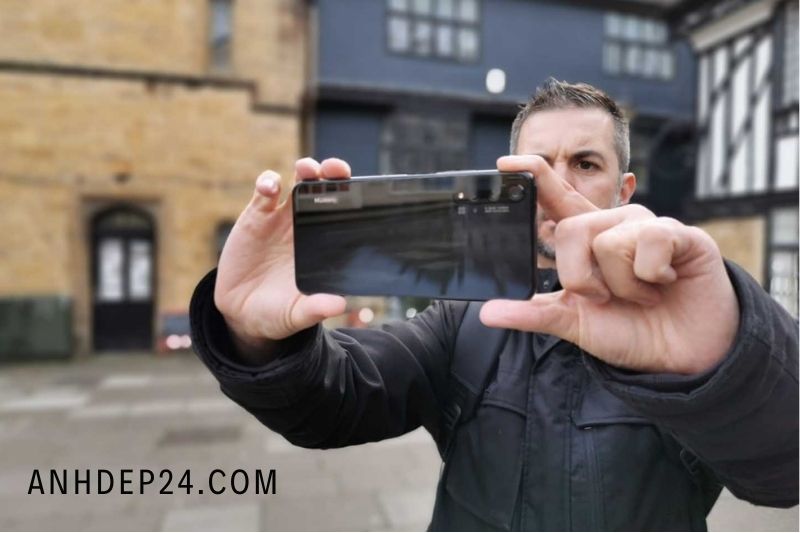
1. Avoid digital zoom
If you don’t want to use the digital zoom function of your phone, it is best to avoid it. Digital zoom is not a zoom. Your smartphone’s zoom lens is not a zoom lens. Digital zoom is simply the camera cropping into an image.
Think of a photo as if it were in your hand. Imagine a section of the photo being cut and stretched out to the same size as the original print. This is a digital zoom. The result is that the images can be very noisy and sometimes soft.
It is always better to move physically closer to your subject as much as possible.
2. Use a tripod
We don’t recommend a huge tripod like the ones in our top tripods guide. Get a small tripod. There are many options. Manfrotto Pixi is one of our favorites.
The mini tripod can be carried in a small bag and mounted for most smartphones. Mounting your phone on a tripod gives your images more stability.
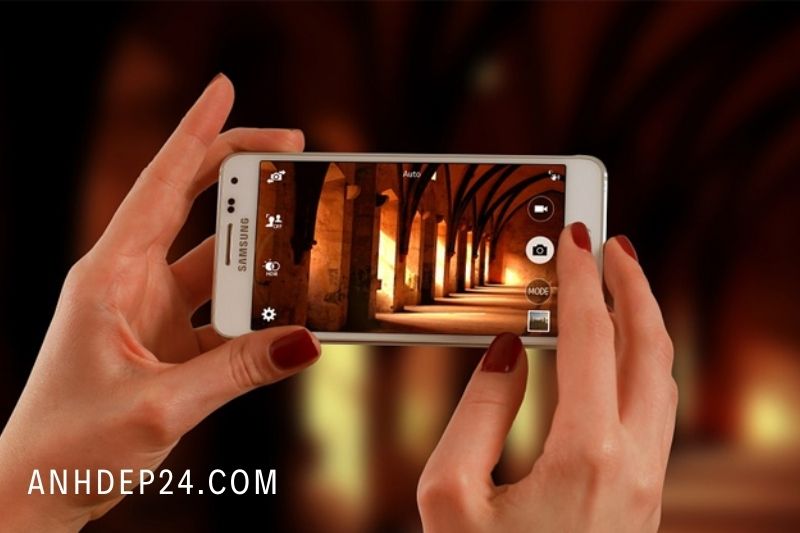
3. Use Pro or manual mode
Many smartphones have a Pro mode that allows you to manually adjust key exposure settings such as shutter speed and ISO. It’s worthwhile to experiment with the manual settings on your smartphone, even if you don’t know much about photography.
You’ll be able to see the difference between how you adjust them and how they affect a scene, so you’ll know that these settings are available for you next time you need them.
Are you shooting in a dark cathedral? Perhaps you should increase your ISO setting. You might also want to adjust the exposure compensation. You’ll quickly get an idea of what you can do with them by playing around on some subjects.
4. Shoot raw, or set the highest image quality
Many smartphones these days can take raw images or, if it is not, make high- or low-quality JPEGs. These settings can be found by tapping on the cogwheel icon at the top of the camera app.
Raw images can be considered digital negatives. Raw files allow for more freedom in editing, such as making adjustments to the exposure. Suppose you are shooting an important image such as the Christmas card cover or any other important photo. In that case, it is advisable to use raw files or the best quality JPEG possible.
5. Use AE/AF Lock
Most smartphones have an AE/AF locking feature. This stands for autoexposure and autofocus. This feature is very useful for taking photos in low-light or high-contrast conditions.
This process will vary depending on how your phone works, but basically, tap your screen to focus your attention on the subject. You will then see the AE/AF Lock icon on your screen. This will lock your focus and calculate the best exposure from your focal points. Press the shutter button.
Once you have done this, it is important not to move or reframe the subject. You’ll need to do it again if you do.
6. Set your phone to Natural colors
Although most phones can produce beautiful colors, they will look too saturated if your phone’s default setting is used.
This is easy to fix. Just tap the Settings icon to open your Display settings. You can enable Natural tones here. You will be able to produce better exposures using the manual settings of your phone’s smartphone if you have more natural tones.
7. Clean your lens
Although it may sound obvious, you don’t want a perfect image damaged by oil smears or other substances that make the lens soft. Our phones are everywhere we go. Our fingers touch the phone’s body all day, and we almost always grip the lens. Please give it a quick wipe before you take an important photo. You can even use your shirt to do it.
8. Use your editing tools
You don’t have to be afraid to use your phone’s camera apps’ editing tools. Sometimes, a few simple adjustments can make a big difference. For example, you might decide to remove an unwelcome tourist from your photo of a local landmark. You might also want to change the brightness or apply a filter to create a beautiful effect.
These are worth the effort to explore their capabilities. Your phone will save the edited image as a new one when you tap the Save icon after editing it.
9. Know your phone camera settings
Don’t rely solely on the default auto mode of your phone. You can tap on the area you wish the phone to focus on, providing a more focused view of the subject. You can also improve the quality of your images by changing the details. Different phones may have different settings, but most will allow you to control the focus, exposure, and white balance.
Some cameras lock the exposure and focus together. This means that depending on where your focus is, you might change the lighting in your photo. There are four options for white balance. To make your photos more vibrant, match them with the environment you are shooting.
For instance, Daylight and Cloudy are better suited for outdoor shots, while Flourescent or Incandescent can be used indoors. You can mix them to create different moods and tones.
10. Go towards the light
The lack of natural light is one of the greatest problems when taking indoor photos. Lighting can make food look better, smiles brighter, and the environment more inviting. Try to capture your photos in natural lighting as much as you can. This can be achieved by taking photos indoors near windows and doors or outdoors near street lamps or neon signs.
Also, consider where your lighting source is. There are no special rules for lighting here, just like in traditional photography. If you don’t want to create a silhouette effect, avoid using backlight when taking photos of people. Side lighting can help capture texture and depth.
Low light photography is important. Don’t use flash. Your phone’s camera flash is often too bright and not very helpful. Try increasing the ISO and exposure settings on your camera.
You could also use external flashes like Lightstrap or iBlazer. For a more professional photo experience, you can download Night Cam for iOS or Night Camera for Android.
Some related posts:
- How To Clean Camera Lens 2022? Top Full Options
- How To Flip Camera On Omegle? Top Full Guide 2022
- How Does A Camera Work? Top Full Guide 2022
- What Camera Do YouTubers Use? Top Full Guide 2022
- What Is A DSLR Camera? Top Full Guide 2022
FAQs
Can apps improve camera quality?
It all depends on what quality you are referring to with the camera. Apps allow you to control how the software processes your photos before rendering them. For example, you might increase exposure, stabilize a shot, focus on a particular sport, etc.
What is an HDR camera?
HDR (high dynamic range in Camera) allows you to take great photos in high-contrast environments. iPhone can quickly take multiple photos at different exposures and combine them to add more detail and highlight to your photos.
Why is my camera quality so poor?
It could be that the recording quality is set too low at 720p. If you see poor-quality videos and pictures, this may be a sign that it is not recording well. The camera software may also be faulty. This is something that can’t be fixed on a smartphone. Installing a GCam Mod on your compatible phone might be able to help.
What is a watermark in a Camera?
A watermark is a text, logo, or signature that is superimposed on a photograph. The watermark can also be used to identify the photographer. Watermarking images can protect copyright. This means that others cannot use the image without permission.
Conclusion
Making your camera quality better provides several benefits. Increasing the resolution, sharpness, and color accuracy of your images can help you take better pictures and improve the quality of your prints. In addition, upgrading your camera’s firmware can give you new features and enhanced performance.